Data Input

Contents
The data input appears on the left hand side of the screen. Some fields may not be present, depending on how the employer file is configured, and are noted as optional. As the data is entered, the current scenario values will change accordingly. The prompts are discussed below.
Add Spouse, or Client and Spouse buttons
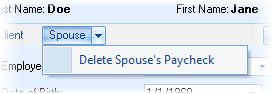
The ![]() allows for adding a spouse's paycheck if not already available. If there is a spouses paycheck already available, a
allows for adding a spouse's paycheck if not already available. If there is a spouses paycheck already available, a ![]() and a
and a ![]() will appear to select which paycheck to illustrate. The down-arrow on the right side of the
will appear to select which paycheck to illustrate. The down-arrow on the right side of the ![]() button drops down a menu allowing the spouse's paycheck to be deleted.
button drops down a menu allowing the spouse's paycheck to be deleted.
Config
The ![]() button (to the right of the button(s) above) allows for quickly configuring options for the paycheck and will be discussed in more detail in the next section.
button (to the right of the button(s) above) allows for quickly configuring options for the paycheck and will be discussed in more detail in the next section.
Employer
Select the employer file. If the employer file is not listed, it may be configured by clicking on the employer file editor button (show below).

For more information on the employer file editor, click here.
| Notes: | A properly configured employer file is essential to a correctly calculated paycheck. |
| Creating a custom employer file (e.g. Morrison School District verses using a generic employer file such as 12-Pay Monthly) may help your clients better connect to the illustration being presented. |
DOB
This is the date of birth for the client or spouse. This may affect the Quick Max illustration, and will be used in the Projections calculations.
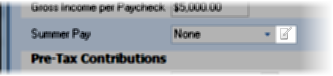
Gross Income per Paycheck
Enter the gross income per paycheck.
Additional Income (optional)
Additional income may be from coaching or other sources, and may be taxed differently, as configured in the Employer File Editor.
Summer pay (or deferred pay) is normally associated with school districts, and is money withheld from a normal paycheck to be distributed during the summer months when school employees are not working. There are three options to select from:
None: Do not calculate summer pay.
Use Employer Values: Use the settings from the employer file.
Use Custom Values: Create custom settings. The button to the right of the editor will become enabled (as shown below), and the summer pay may be configured for this client.
For more information about configuring the summer pay editor, review the description of the fields in the Employer File Editor.
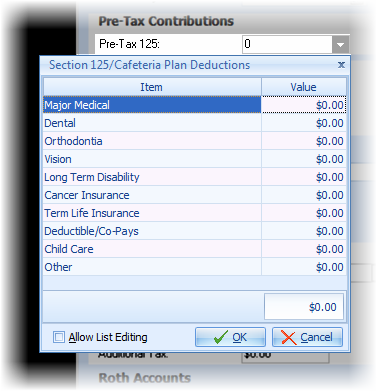
Pre-Tax Withdrawals
Enter the value for a pre-tax 125 (cafeteria) plan. The total pre-tax 125 value may be entered, or an itemized list may be entered by clicking on the down arrow button to the right of the editor.
| Notes: | If the Section 125 value is a total and it is not itemized, the After-Tax items can not be automatically transferred to the Section 125 value. |
| The Section 125 items default list may be modified by selecting File/Config from the ribbon bar and selecting Paycheck/Lists in the navigator. |
| Not all states allow section 125 contributions to be paid before tax. This may be configured in the Employer File Editor's Taxation tab. |
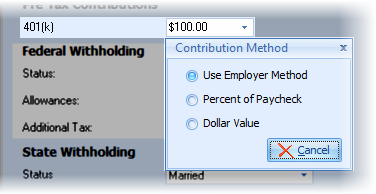
403(b)/401(k) (configurable) and 457 (configurable, optional)
This prompt may appear differently, and the default input will be either a percent or a dollar value, depending upon the configuration in the employer file's Retirement Plan tab. The contribution method (percent or dollar) may be altered for the specific client by clicking on the down arrow on the right side of the editor and selecting the preferred method (see image below).
The secondary plan (shown as 457 here) may be hidden by configuring the employer file editor's Visible Field tab.
Pension Plan (optional; configurable)
This is a retirement plan that the advisor is normally not involved with, such as a state sponsored retirement plan. It is configured in the employer file editor.
Withholding Taxes
Use Pre-2020 Form W-4
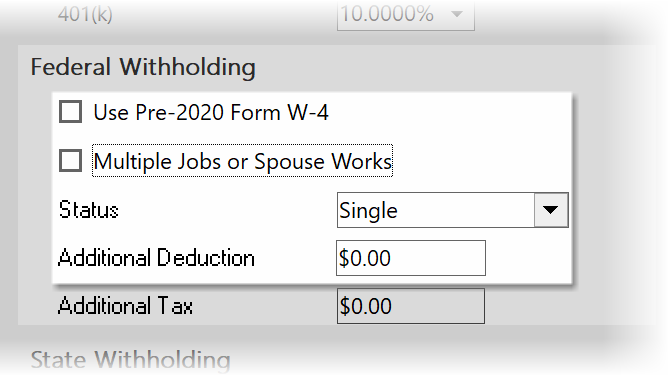
Check this box if the client's W-4 is prior to 2020. This will keep the options for allowances present for data entry. If the box is unchecked, a 2020 W-4 will be assumed for the calculations. If unchecked, an additional option is available to account for "Multiple Jobs or Spouse Works".
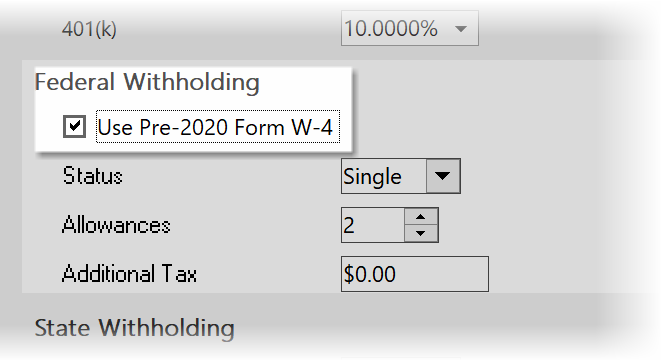
Federal Status
Select the federal withholding status for the client.
Federal Allowances
If "Use Pre-2020 Form W-4" is check, enter the number of allowances that apply to the client.
Additional Deduction
If "Use Pre-2020 Form W-4" is not checked, enter any additional deductions for federal withholding apply to the client.
Add. Federal Tax
Enter any additional federal tax the client is having withheld.
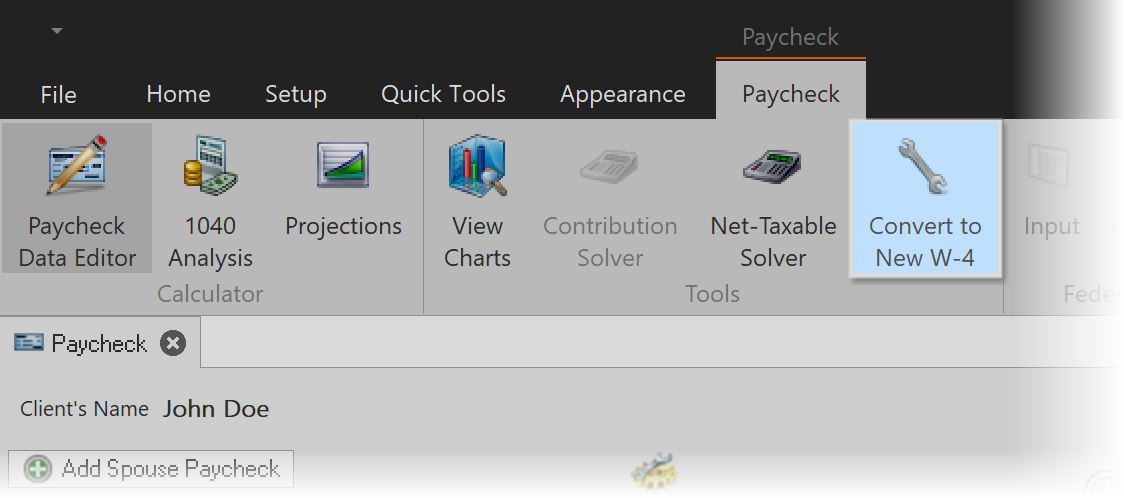
W-4 Conversion Option
For clients with W-4 values in the 2020 format, a new conversion tool is available to switch federal withholding from allowances to deductions.
State Withholding Options
The state withholding options (which are optional and may be removed) typically will include State Status, State Allowance, and Additional Tax as required by the current state withholding documents (if relevant). A number of states may include an Additional Allowances prompt (which may change from one calendar year to another). Other states may use completely different state withholding options. Please see the respective state withholding documents for further information.
Previous state withholding tables may be available using the Config button above.
Local Taxes
Multiple local taxes may be defined in the Employer File Editor. Each local tax may be given a custom name and optionally have a value associated with the tax (e.g. percent of gross) that is editable. If this is the case, an editor will be displayed for each configured local tax.
Roth Accounts
403(b) Roth and/or 401(k) Roth (configurable, optional)
Both prompts may or may not appear. They are configured in the employer file editor.
After-Tax Deductions (optional)
Enter the value for the after tax deductions. The editor button to the right of the input will allow for the value to be entered by using an itemized list.
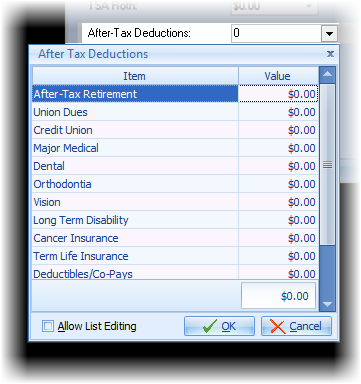
| Note: | Similar to the Section 125 items, the default After Tax items may be modified by selecting File/Config from the ribbon bar and selecting Paycheck/Lists in the navigator. |